Table of Contents
Interior
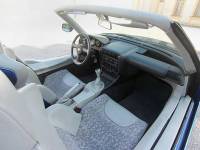
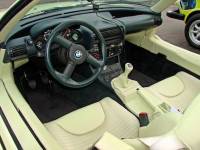
The Z1 Interior is adorned in leather, end to end. From the seats to the centre console, the gaitor, door cards, and swerves around both seats to meet the dash in dark grey or green leather. The carpet came in three colours, green to match the green dash and yellow leather, dark grey carpet for the camo and light grey interiors and red carpet to match the red leather.
Seats
The Recaro bucket design seats were trimmed in 4 different styles.
- 1. Light grey leather with grey patterned cloth seat section. One of the most attractive, 208 cars were produced with this scheme.
- 2. Yellow leather with purple and yellow patterned cloth. Looks fantastic new, but did not fare well over the years, 1189 produced.
- 3. Red leather with red cloth seat section, the least number of cars made with this scheme at 38.
- 4. Dark grey Nubuck and Camouflage leather seat section, 6565 cars. The most resilient interior, but when left in the sun, faded to a light grey and susceptible to horrible water marks.
Surprisingly none of the seat material came with any form of protection against the elements, including UV, which you would expect on a Roadster. Wear and tear is costly as the sections are no longer available, the material is not available and neither are the seats. If restoring, the seat itself can be dismantled into 4 basic components for restoring: The Seat base, Back rest, Side and Thigh support, the leather is bonded to the foam underneath, foam which deteriorates over time, sags and develops a sort of `wrinkly bum` effect, having lost some of its flexibility working against the leather.
To dismantle your seats, see the detailed guide Here.
Seat Removal
The seats are secured by 6 studs, 2 up front and 4 behind, removable using a special tool.
Front Much of this is working in small cramped space, so mind your back. Push seat all the way back, using a torch and leaning into the car, peer under the seat at the seat runners. There are 2 studs, (one either side), using a long socket loosen both, but dont remove.
Rear Push seat forward and adjust for maximum lean, then remove 4 studs, (two each side). Keep these safe.
The seatbelt will be attached to the seat base, so place a very thick soft non abrasive blanket or duvet over the rear of the car.
Slide the seat runners backwards away from the front studs (that you loosened but did not remove), then firmly lift the seat onto the rear of the car, ensuring you clear any obstacles without making contact with anything and placing the seat onto its seat back (rear plastic).
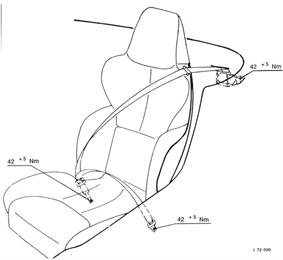
Seatbelt
Remove seat - Unscrew bolts and take off upper and lower seat belt straps. Installation: Tightening torque = 42 + 5 Nm.
Instruments
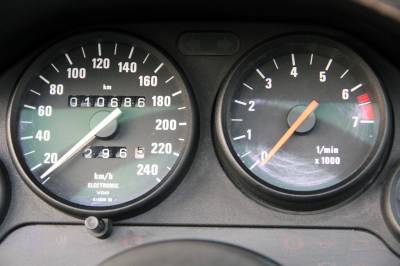
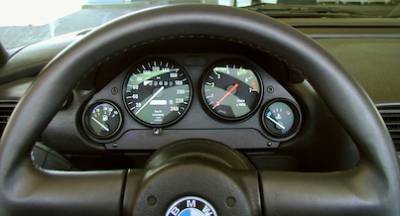
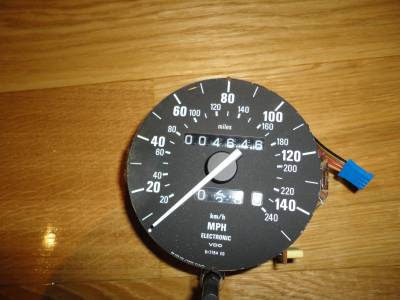
Taking its inspiration from a Motorbike cluster, the instruments are rumoured to have come straight from the Motorbike parts bin. For cars sold in the UK, BMW fitted MPH speedos and fuel gauges measured in Gallons (F to denote Gallons instead of L litre)
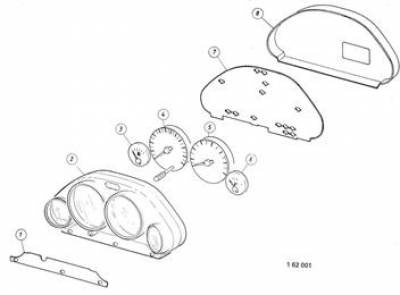
Instrument Cluster
- Symbol plate
- Face frame
- Fuel gage
- Speedometer
- Tachometer
- Temperature gage
- Printed circuit board
- Back plate
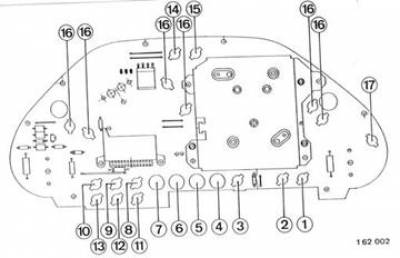
Lightbulb placement
- Hight beams
- Rear fog lights
- Parking brake
- Not used
- Not used
- Not used
- Not used
- Brake fluid
- Oil pressure
- Battery charge
- Not used
- ABS
- Brake pad wear
- Right turn signals
- Left turn signals
- Instrument lights
Bulb Removal
Turn faulty light bulb 90° and lift out. Note: Check light bulb for correct rated power.
- Instrument lights = 2.0 W
- Control lamps = 1.2 W
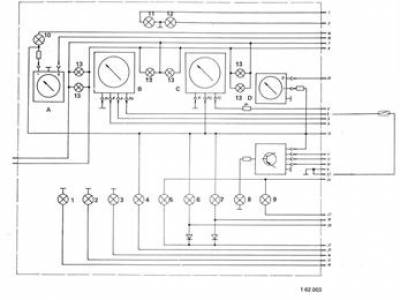
Circuit Diagram
- Fuel reserve
- Rear fog lights
- High beams
- Oil pressure
- Battery charge
- Brake fluid
- Parking brake
- Brake pad wear
- ABS
- Tank warning
- Left turn signals
- Right turn signals
- Instrument lights
- Fuel gauge
- Speedometer
- Tachometer
- Temperature gauge
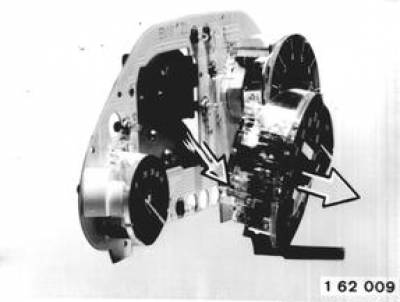
Replacing Speedo
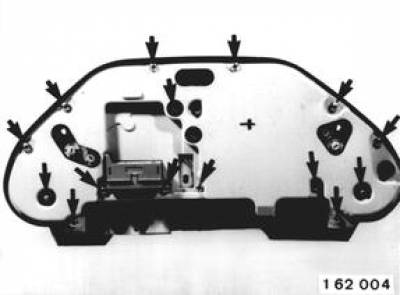
Remove instrument cluster from dashboard and disconnect cabling.
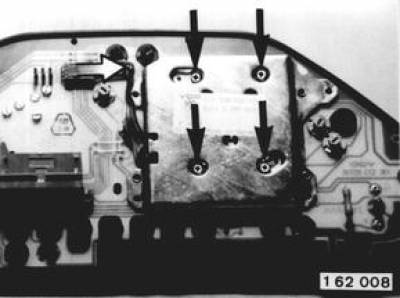
Unscrew screws and nuts. Lift out cover.
Unscrew screws and pull off plug.
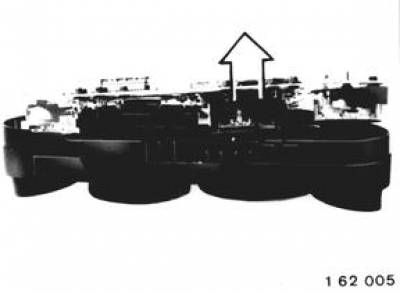
Take instruments with printed circuit board out of housing.
Lift speedometer with wire harness out of printed circuit board.
Right Hand Drive
All Z1s were Left Hand Drive, with some aftermarket RHD conversions to suit foreign markets by Griffin Motorsports Griffin Motorsport and Birds Auto.
Wing Mirror
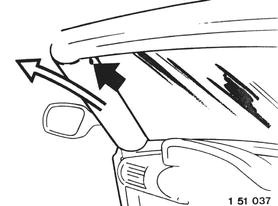
Unscrew pillar screw. Pull out trim panel from above.
Installation: Shut the door. Install the trim panel in such a manner that there is no contact between the door and trim panel.
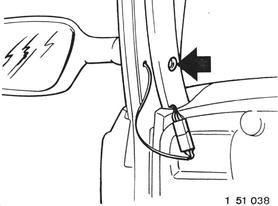
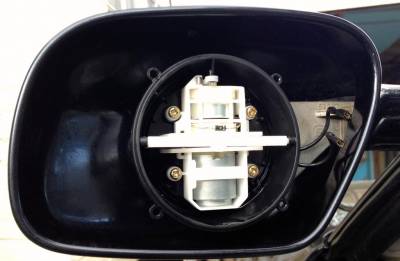
Pull out electric lead. Disconnect plug. Unscrew screw and take off mirror.
Installation:
- Guide in electric lead.
- Insert mirror in guide.
- Check for correct seating of seal.
Mirror Glass
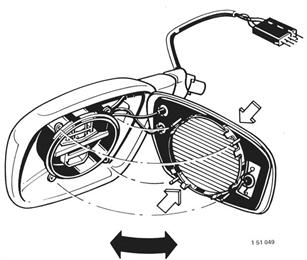
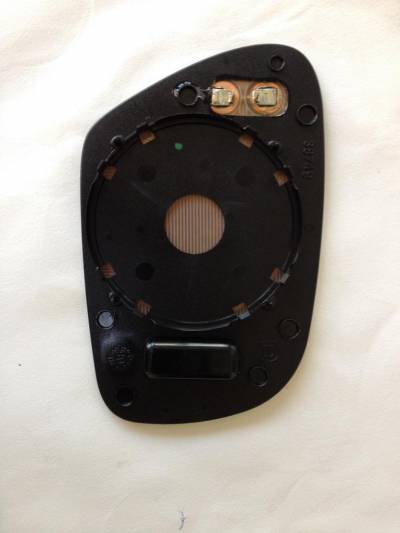
Tilt mirror glass. Use adhesive tape on glass and edge of housing to prevent damage.
Bend retainers and remove mirror glass. Pull off electric lead plug.
Installation: Insert guide pins in bores. Press on glass and engage retainers.

